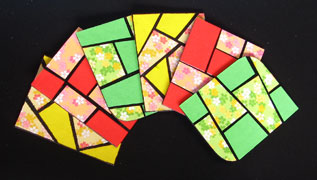
Paper Mosaic Magnets

 If you’ve been making paper crafts for a while, chances are you’ve accumulated a lot of paper scraps. One way to use them is to turn them into paper mosaic tiles, as we’ll see in our project below. Cut the scraps into different polygons and assemble them on a contrasting background to form a mosaic. This technique can be used for frames, boxes, and, in our case, ref magnets. Are you ready? Let’s begin!
 You will need:
* Sturdy cardboard, like an old board book or illustration board
* Black cardstock
* Scraps of plain and patterned papers in matching colors
* Craft magnets
* Black permanent marker
* White glue (optional)
* Mod Podge
* Foam brush
* Craft knife
* Cutting mat
* Ruler
* Scissors
Cut the cardboard to the desired size using a craft knife, ruler and cutting mat. For this project, the cardboard was cut to 2-1/2 by 1-7/8 inches. Cut a piece of black cardstock that’s the same size as the cardboard, and glue it to the cardboard. Ink the sides of the cardboard with the black permanent marker.
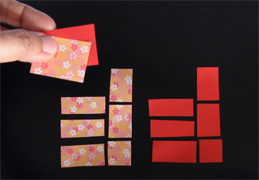
Cut scraps of plain and patterned paper into polygons. To ensure that the pieces will fit together, first cut a piece of plain paper and a piece of patterned paper that are the same size as the cardboard. Stack them and cut them into shapes one piece at a time, assembling them on your work surface as you cut them so that you’ll remember how they fit together. See the photo below.

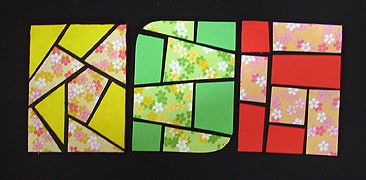
Swap pieces between the two sets until you get a pattern you like. Glue the pieces of one set onto the black cardstock using white glue or Mod Podge, leaving spaces between the pieces so that the black cardstock shows. Trim off any excess paper. Apply a coat of Mod Podge on the front and sides of the cardboard to seal it. Let it dry for 15 minutes, and then apply a second coat. Let dry. Attach the craft magnet to the back of the cardboard and let the whole thing dry completely before use.


Related Articles
Editor's Picks Articles
Top Ten Articles
Previous Features
Site Map
Content copyright © 2023 by Mia C. Goloy. All rights reserved.
This content was written by Mia C. Goloy. If you wish to use this content in any manner, you need written permission. Contact Mia C. Goloy for details.


