Simple Cowl Recipe

It’s happened to all of us. We are at our local yarn stores, browsing, and something catches our eye. Or, in the process of going through our stashes, we find yarn that bought for a different project and decide to re-purpose it. Maybe we’re interested in knitting something simple, something that doesn’t require much thought. All of these are good reasons to knit a cowl without a pattern. What's needed is a simple stitch pattern, a gauge swatch, yarn, and knitting needles (straight or circular for a cowl knitted flat, circulars somewhat shorter than the length of the piece for knitting in the round.) Here are the instructions.
Start by deciding what kind of knitting the yarn wants; in other words, would this yarn be best served by a fancy or a simple stitch pattern? In general, ornate and fuzzy yarns work best with simple patterns, while plainer yarns can take extravagant stitching. Keep in mind that cables take up more yarn, so if you’re at all worried about having enough, a lace pattern will require less fiber; also, be aware that some yarns resist ripping back and thus would be better served by a simpler set of stitches.
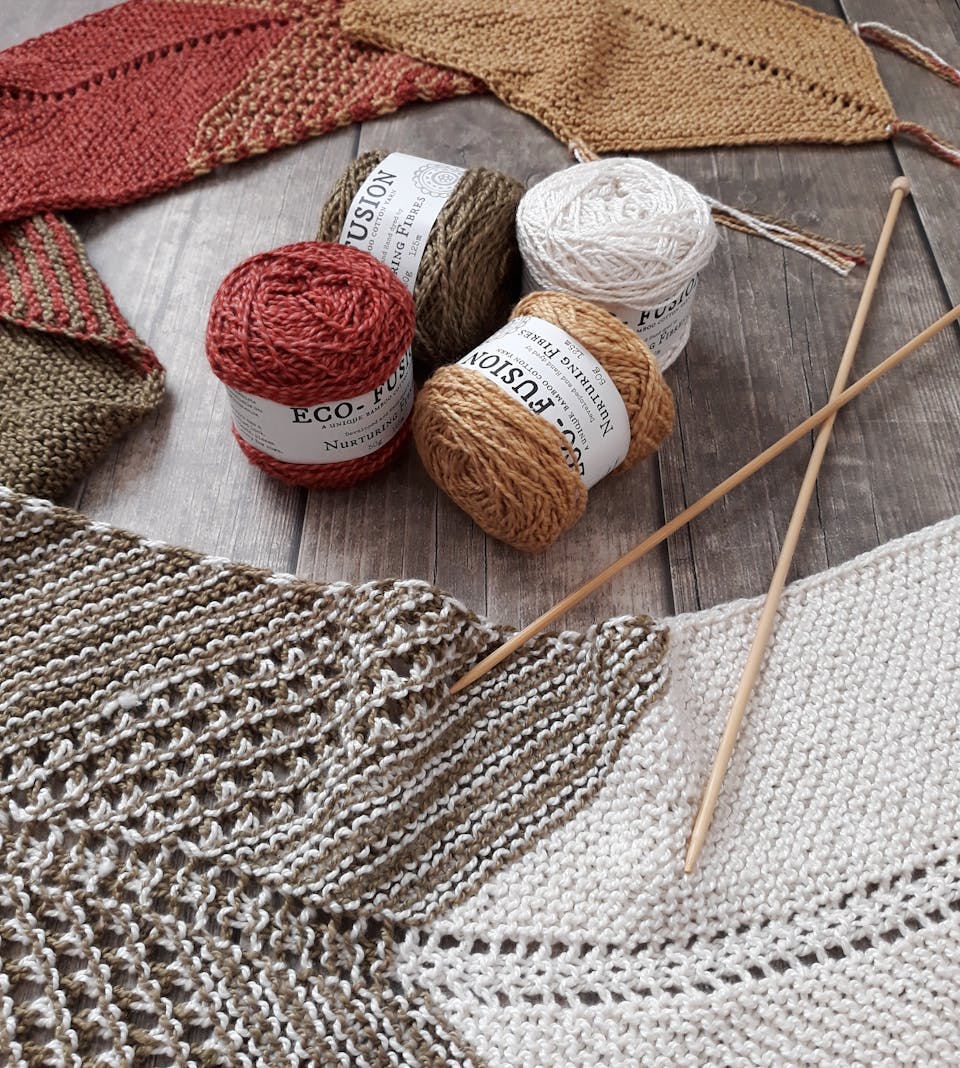
It’s important to keep in mind that, as is true for a scarf, both sides of the fabric will show. Therefore, it’s a good idea to choose a stitch pattern that doesn’t seem to have a “private” side. Seed stitch, half-linen stitch, and mistake stitch rib are all easy to work, produce non-curling fabrics that don’t need edgings, and look amazing. Elongated garter stitch is a great choice for fancy yarn, as the long stitches show off the fibers well. Another great choice is a diagonal rib; while the sides won’t be exact mirrors of each other, they will both look “public ready”. Of course, there’s always plain garter stitch or a simple ribbing!
Knit a gauge swatch in that pattern to determine the number of stitches per inch. Then decide how long you want the cowl to be by taking a tape measure and draping it in a circle around your neck. Once you know the length, it’s easy to figure out the cast on for a cowl knit in the round from the bottom up – multiply the stitches per inch by the inches required. As an example: a thirty inch cowl that’s knitted to four stitches per inch will need a cast-on of one hundred and twenty stitches.
If you decide you’d rather knit flat, the calculations are a bit more complex. Assuming a width of eight inches, a gauge of four stitches to the inch will require a cast on of thirty two stitches. However, you may need to center the pattern to make sure the edges match. For example, a k2,p2 stitch will look better if you add an extra two inches to the end: (k2,p2), end k2. Therefore, the cast on would actually be thirty four stitches.
If you’ve decided to knit the cowl from bottom to top, cast on and then connect to work in the round, being extremely careful not to twist the stitches (I usually knit a row before joining first because it makes connecting without twisting easier.) Knit away, following the stitch pattern, until the cowl is as high as you like, and then bind off!
If you prefer to knit in rows, decide if you want to sew up a seam after you are finished. This is easier for some people, but it does mean that you’ll usually have to wear the cowl with the seam in the back, which can irritate sensitive skin. If you don’t want a seam, then cast on provisionally using scrap yarn to hold the first row of stitches. When you have knit to the desired length, you can use the Kitchener stitch to complete the circle – thus, no seam needed.
Whichever stitch pattern you use, whichever method you employ to create your cowl, you will end up with a beautiful accessory when you are finished. Wear it with pride! You’ve created something unique!

Related Articles
Editor's Picks Articles
Top Ten Articles
Previous Features
Site Map
Content copyright © 2023 by Korie Beth Brown, Ph.D.. All rights reserved.
This content was written by Korie Beth Brown, Ph.D.. If you wish to use this content in any manner, you need written permission. Contact Korie Beth Brown, Ph.D. for details.


