Basic Knit Hat Recipe

Hats are fun to knit because they can be refreshingly simple or gloriously complicated. They can be functional, decorative, or both. While there are some wonderful hat patterns out there, you don’t really need one. What you do need is yarn to knit with, needles, and knowledge of hat construction.
It helps to measure the head of the recipient, as everyone is a little different. In order for the hat to stay on, some negative ease is a good idea; generally speaking, a hat that is two inches or so smaller than the head measurement will fit well. If the hat is to be a surprise, there are some generalities that can be used: a woman’s head circumference is generally around twenty-two inches, while a man’s is around twenty-four. You can subtract an inch or two from a woman’s size for pre-teens and teenagers (21”), another for children (20”), and another for toddlers (19”). Of course, babies come in a variety of sizes, from preemies to those approaching a year old; in those cases, it’s really a good idea to either get the measurements, use a stretchy rib pattern, or err on the large size and assume that the gift will fit eventually.
Once you know the size needed, it’s time to make the dreaded gauge swatch. Remember, everyone knits differently, and little differences in gauge per inch can translate into a hat that is way too small or purse-sized! If you can, buy an extra ball of yarn for the gauge swatch if the yarn is delicate; for some yarns, ripping back the gauge swatch will alter the yarn noticeably for the real knitting. You will want to make the gauge swatch in the pattern(s) you want to use; be sure to also get a stockinette gauge for the crown.
If you multiply your gauge stitch by the circumference of the hat (remember to subtract for negative ease!), you will have the number of stitches needed for your cast on; if you can, adjust this number so that it is a multiple of eight. (Remember that you will need a number that also divides evenly for the number of stitches needed for the repeat of your rib pattern.) If you are going to use a rib for the brim and stockinette for the hat body, you might consider knitting the brim using needles that are a size or two smaller than those you use for the rest of the hat; this will cause the knitting to draw in and ensure that the brim fits closely.
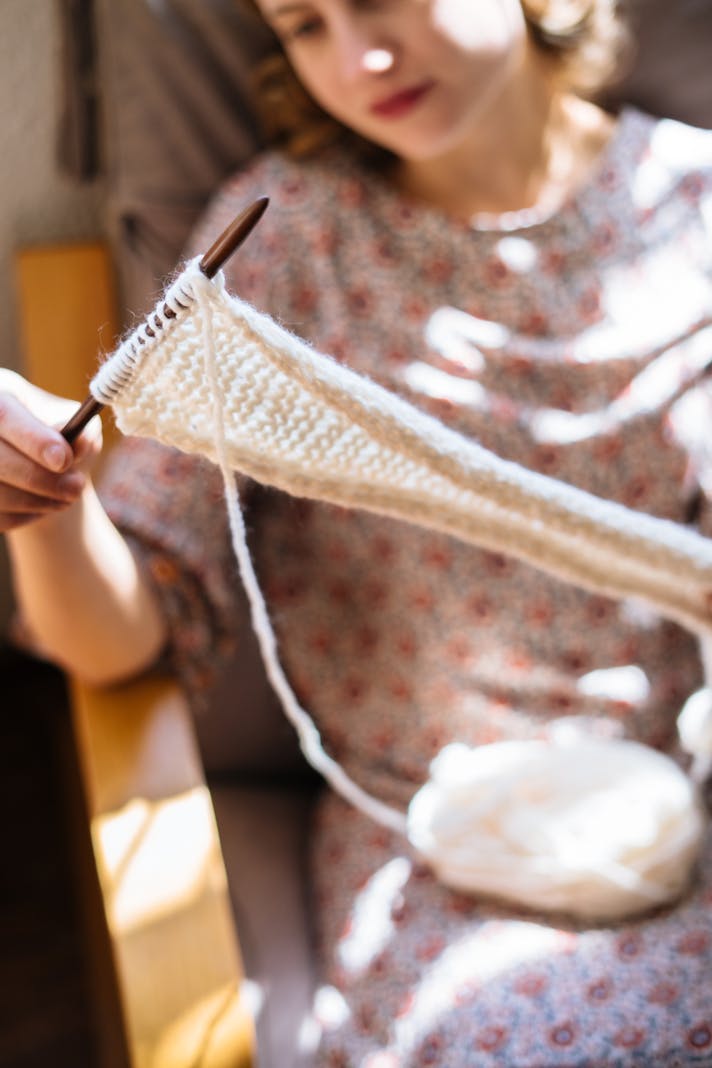
Hats are usually worked in the round, and using one sixteen inch circular needle is easiest. You will want to be careful not to twist the cast on, perhaps by knitting back and forth for two rows before joining (the little gap can be sewed up easily when the hat is finished.) Work on the brim for two to four inches, depending on if you want it to flip over the body of the hat or not. When the brim looks right, change to the main pattern if it is different, and knit until the hat is long enough. Here is a strange fact: the body of the hat will generally be the length of the recipient’s hand. When you think you are getting close, it’s time to try the hat on and make adjustments.
To make the crown of the hat, add markers on the last body row so that you are dividing the circumference into eight wedges. (If you need to, decrease on this row so that the wedges are even.) On the following row, knit until you are two stitches from a marker, and knit two together, repeating until the round is finished. Knit the next round even. Repeat these two rows; you will need to change to knitting with two circular needles or with double-points when the circumference becomes too small for one circular. When you have eight stitches left on the needles, leave a tail long enough for weaving in, cut the yarn, thread it through a yarn needle, thread the needle through the remaining stitches, and sew the yarn to the inside of the hat. Weave the yarn at the brim in, and voila!, you have made a hat without needing a pattern!

Related Articles
Editor's Picks Articles
Top Ten Articles
Previous Features
Site Map
Content copyright © 2023 by Korie Beth Brown, Ph.D.. All rights reserved.
This content was written by Korie Beth Brown, Ph.D.. If you wish to use this content in any manner, you need written permission. Contact Korie Beth Brown, Ph.D. for details.


