Pumpkin Piñata

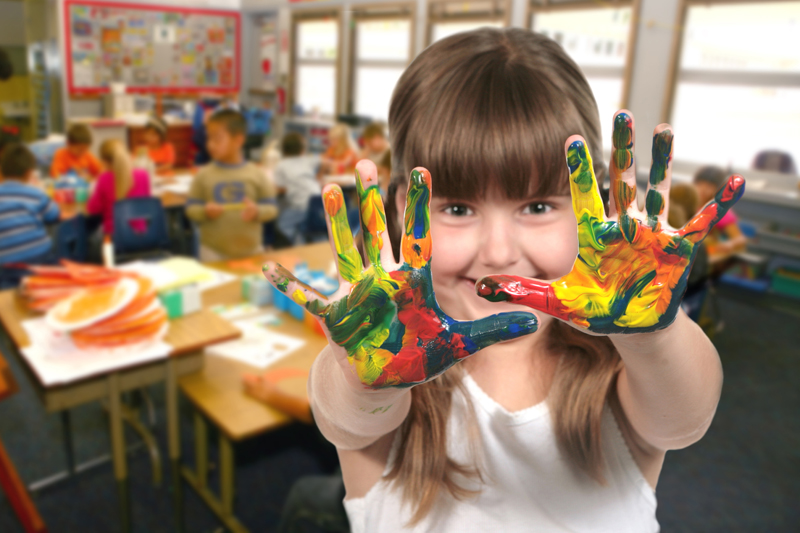
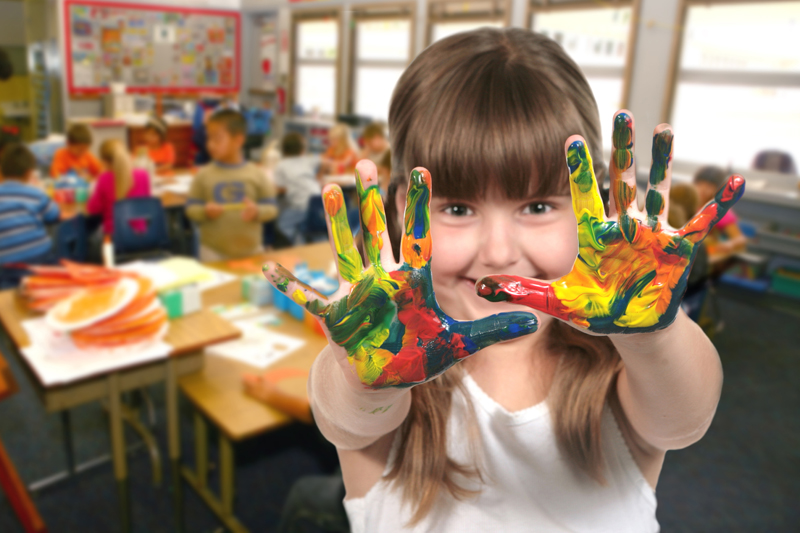
Halloween is celebrated on October 31st. A fun and messy project is to help your child make a pumpkin piñata. It is definitely a messy project – but so much fun! Depending on your climate and humidity level it can be a project that takes a few weeks – with drying time in between the layers.
Be sure you plan for enough time to complete the project - the layers need to dry between applications.
Materials needed :
• Large round balloon – to be at least 4” to 6”
• Newspaper
• Plain newsprint paper
• White glue
• Cotton string
• 1 ½” Foam paint brushes
• Orange acrylic paint
• Green acrylic pain
• Black tissue paper
• Utility knife (only to be used by an adult)
• Strawberry basket (to be used as a drying rack)
• Masking tape
• Permanent marker
Here’s how to make the Pumpkin Piñata :
1. Blow up a balloon to approximately 4” to 6” inches in diameter.
2. Cover the table with a plastic table cloth and newspaper. (This is so messy I like to have the kids work on the outside picnic table that I can hose off after.)
3. Make papier-mâché using glue and water (mix two parts water to one part glue).
4. We have found that the best way to start is to paint a whole sheet of newspaper with the glue/water mixture, and then to put the balloon in the middle (with the knot of the balloon at the top), and wrap the paper around the balloon.
5. Help them to that the paper is tight around the balloon (pumpkin), and so that it also covers the knot (the stem).
6. Help them twist the ends of the newspaper to form a handle (stem) for the “pumpkin” before putting a second layer of newspaper.
7. Wind string all around the balloon with the end of the string coming out at the top so that it can be used to hang the piñata when it is finished.
8. Apply another layer of newspaper using the method in step 4.
9. If you are doing this project with more than one child, use a strip of masking tape to put a name label on the pumpkin by attaching it to the string that hangs off the pumpkin.
10. Place the pumpkin on top of the strawberry basket to dry – this will take about a week to harden.
11. Next week, repeat the process, substituting blank newsprint paper for newspaper. Put on two more layers of newsprint around the pumpkin. No string needed this time. Allow it to dry for a week.
12. Paint the handles green and let them dry overnight.
13. The next day, they can finally paint the pumpkin orange. Let them dry overnight.
14. This next step must be done by an adult – using the utility knife, cut a small home in the top of the pumpkin piñata (to put treats inside).
15. Cut out jack-o-lantern face shapes from black tissue paper. Glue to the pumpkins.
16. Fill the piñata with goodies! Enjoy!
Some pumpkin books that we have enjoyed:
Pumpkin Pumpkin
The Pumpkin Book
Too Many Pumpkins
(available from Amazon)

Related Articles
Editor's Picks Articles
Top Ten Articles
Previous Features
Site Map
Content copyright © 2023 by Launa Stout. All rights reserved.
This content was written by Launa Stout. If you wish to use this content in any manner, you need written permission. Contact Launa Stout for details.


