Quilted Potholder Free Pattern
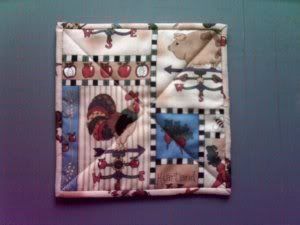
I was inspired recently to make potholders as favors for a housewarming party I’m having this fall. This is a fantastic opportunity for you to dig into your scrap bin and start using up those bits and pieces that you couldn’t bear to throw away. Use them as potholders or hot pads, they are a cute, quick, and easy project to make for yourself or others. I think they are the perfect hand made favor, or even Christmas gift!
I start by either taking an 8 x 8 inch square of fabric, or pieced block, being sure that the finished size is 8 x 8. This size seems to produce a nice sized potholder.
Once you have your 8 x 8 fabric square or block, you’ll want to cut the backing piece for your potholder. I like to buy two coordinating prints, and use one for the front and one for the back. Cut your back piece a little larger than your front piece, just like you would a quilt. If using a rotary cutter, I guestimate my square so that it measures about 9 x 9 inches. The key to your back piece is that it is a bit larger than your batting and your front piece.
Next you want to cut your batting piece. I use Hobbs Premium Heirloom batting for my quilts. It’s affordable, and I purchase it at my local Jo-Ann Fabrics store. I always have scraps of it around, since the batting comes in sizes that are precut and bagged. If you don’t have a lot of scrap batting around, you can usually find at your local craft or fabric store in the batting section, bags of “craft batting” or something similar, so that you can purchase just a small amount at one time. Cut your batting slightly smaller than your backing piece, but larger than your front square of fabric. About 8 ½ x 8 ½ inches should do, give or take. The way I cut, is I place my backing fabric right on top of the hunk of batting, then cut around the edges of the fabric. Then I trim back the batting a bit, about 1/4 to ½ inch so that I can see the edges of the fabric behind the batting.
Now it’s time to layer and sew, just like a quilt! Layer your backing fabric right side down, then your batting, making sure there is an even amount of backing fabric showing around all four sides, then right side up layer your top fabric or block. I like to place one or two safety pins at each end of the potholder to keep it from moving around too much, but the cotton will sort of grip to the fabric, and on a project this small you won’t have a lot of shifting. Then quilt your potholder as desired. You can be creative here and get as complicated here as you like. I like to just quilt an X from corner to corner if I’m just using two hunks of fabric, or if I’m making many potholders for gifts. Trim off excess batting and backing fabric.
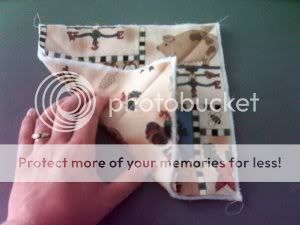
Last you’ll need to bind your potholder, just as if it were a little quilt. For an 8 x 8 inch potholder you’ll want 32 inches of binding plus a few extra inches to account for folding and finishing off your binding. Purchase at least 45 inches of pre-made binding tape or make your own by folding in half a length of fabric that is 45 inches long by 2 inches wide. Press the fold as you go along. Cut the end you’ll begin sewing with at a 45 degree angle, then fold under and press roughly 1/4 an inch of that angle.

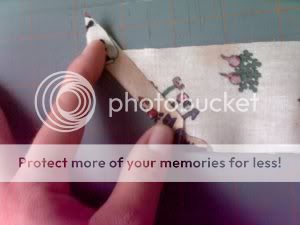
Unfinished edges together, on the right side of the potholder, sew down your binding, beginning at about ½ way down one side of your square.

Sew all the way down but stop at 1/4 an inch away from the bottom edge - cut your thread. Fold your binding up and to an angle so that it aligns with the next side of the potholder to be sewn down to, then fold down, so that the unfinished edges are now together on the front side of the potholder edge to be sewn.

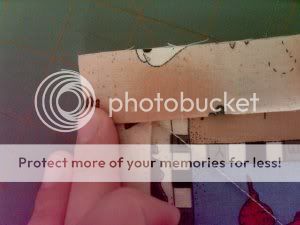
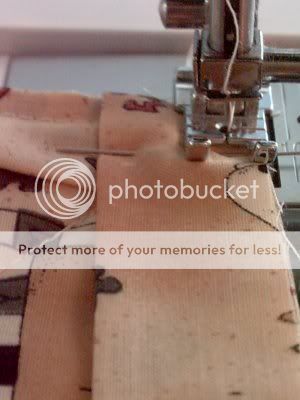
Sew the row from beginning all the way down the side, stopping at 1/4 of an inch to the bottom, and then repeat folding to an angle, up, then down and sewing the corner down for each corner of your potholder.
Last, to finish, after sewing your last corner, trim the excess binding tape to 1 inch or so past where your binding begins on the potholder. Cut at a 45 degree angle so that it mirrors your beginning edge binding, and tuck the point into the beginning binding. Sew down.
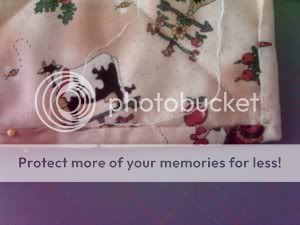
Turn your potholder over, straighten the binding and pull over to the back side. Finish potholder by sewing binding down by hand using a widely spaced blind stitch.
Recommended Reading:
You Should Also Read:
Choosing Fabric to Make a Quilt
Planning Your Quilt and Common Beginner Mistakes

Related Articles
Editor's Picks Articles
Top Ten Articles
Previous Features
Site Map
Content copyright © 2023 by Valerie Smith. All rights reserved.
This content was written by Valerie Smith. If you wish to use this content in any manner, you need written permission. Contact Judie Bellingham for details.


