Ripping Back One's Knitting

When working on a large project such as a sweater, or on a complicated project such as a lace shawl, the idea of ripping back can fill the heart of even a seasoned knitter with despair. Granted, the process is never going to be as fun as straightforward knitting, but it’s an essential skill that can make or break the quality of the finished piece. Since everyone makes mistakes, and since some mistakes require one to rip back, it’s essential to know how to do this.
The first step in fixing a mistake is determining whether or not one actually needs to rip back. If the mistake involves only a few stitches or is relatively isolated, it’s easier to simply unravel one stitch at a time, laddering down the piece, until the mistake point is reached. Once there, the mistake can be fixed and the stitch worked back up with a crochet hook. There are, however, errors that are more extensive, or that involve complicated stitch manipulation. For these, ripping back is by far the easiest way to go.
Before actually starting to rip back, take a moment to gather notions that might be needed, such as a crochet hook, a spare needle that’s a couple of sizes smaller than the project needle, and locking stitch markers. These last can be used to stop laddering from getting worse as well as for marking where to ladder back up once there is no longer the threat of unraveling. A cup of coffee or tea to soothe frazzled nerves is also helpful, as ripping back requires more concentrating than simple knitting.
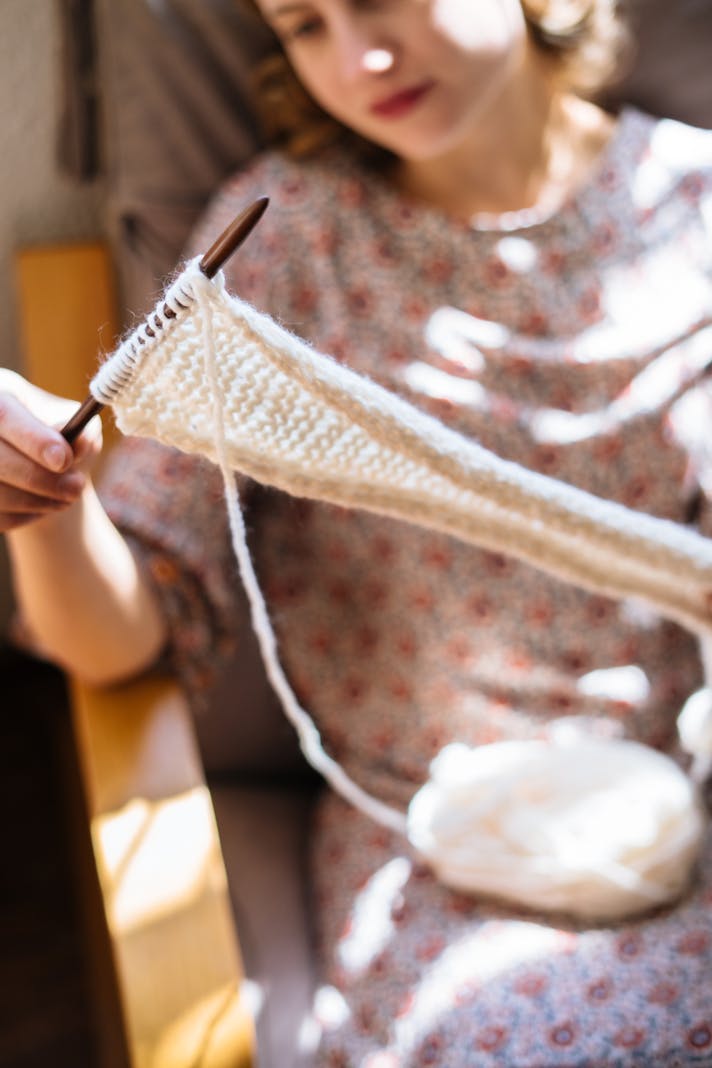
There are two methods of ripping back. The first is often called “tinking”, because it works stitch by stitch and is thus the reverse of knitting itself. Turning the work around, un-knit the last stitch and catch the one below it on the needle. Then go to the next one. It’s important to stay focused so that stitches don’t ladder down in the process, especially if the pattern involves a lot of stitch manipulation. While tedious, this manner allows one to work one stitch at a time without taking the entire project off the needles. If complicated stitches are involved, this can be an easier, if monotonous, method.
The second method is much faster at first, but scarier, as it involves taking the project off the needles and ripping back more quickly. The ripping back goes much faster, but it’s a good idea to do this deliberately so that it’s quickly apparent when the mistake is off the needle. Hold the project on a plain table so that the stitches are flat and noticeable. When the mistake has been unraveled, continue until at the beginning of the row.
Once the knitting has been unraveled to the appropriate point, it’s time to get the stitches back on the needle. The hard part, of course, is to do so without dropping stitches and laddering the project beyond repair. It helps to use a circular needle that’s a few sizes smaller for this process. Holding the needle on the table and moving one’s hands and body instead of the project, gently slide each stitch back on. If a stitch unravels, slide the stitch below it on the needle and mark it before proceeding. Don’t worry about the orientation of the stitches at this point; it’s easier mentally to just focus on one thing at a time.
Once all of the stitches are back on the spare needle, it’s time to change back to the correct size for the project. At this point, a crochet hook is helpful for laddering the marked stitches back up when needed. This is also a good time to make sure that all of the stitches are facing the same way so that the row won’t have twisted stitches when knitted up. When finished, breathe a sigh of relief. The problem has been resolved.

Related Articles
Editor's Picks Articles
Top Ten Articles
Previous Features
Site Map
Content copyright © 2023 by Korie Beth Brown, Ph.D.. All rights reserved.
This content was written by Korie Beth Brown, Ph.D.. If you wish to use this content in any manner, you need written permission. Contact Korie Beth Brown, Ph.D. for details.


