Quilt Bag - How to make a Quilt Bag
Whenever I’m commissioned to make a quilt, I always include a quilt bag. I find that it is nice to deliver the quilt in a simple bag that will keep it clean, and it always makes for a very good presentation.
I don’t fuss over the bag; in fact I use a very old method of making an old fashioned pillow case, sometimes called a Housewife Pillowcase. The bag has a flap that sits over the quilt and helps to make it safe and sound and keeps it clean when in transit or in a cupboard.
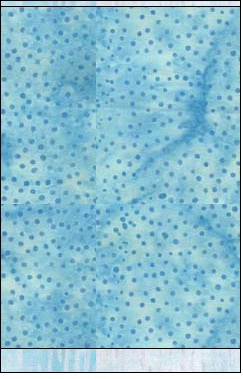
I’ve made so many of these bags over the years. I like to use the left over quilt backing fabric for the bag and sometimes put a contrasting fabric strip on the front using fabric from the quilt on the bag just for decoration.
Here are my instructions for making a Quilt Bag.
The fabric you require for a good sized quilt bag is approximately 72” long by 22” wide. If you’re not sure or want to decide your own measurements, fold the quilt into the size you will have it when it is bagged and take the width and length measurements. Double the length measurement for the required length of fabric and add 2” to both side and length measurements to account for the side seams.
For example, say your quilt when folded measures 48” long and 20 “wide.
Length = (48 x2 = 96”) plus 2” = 98” long
Width = 20” plus 2” = 22” wide
Step 1.
Cut one piece of fabric 72” long x 22” wide (or your preferred measurement).
Step 2.
Using your iron, press under twice, a half inch hem at one long end of the fabric. Stitch in place.
Step 3.
Using your iron, press under twice, a 2” hem at the opposite long end of the fabric. Stitch in place.
Step 4.
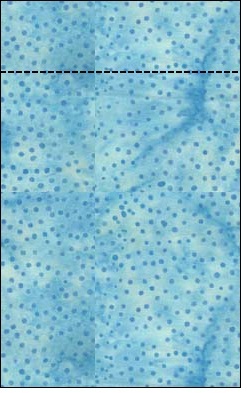
Place the fabric right side up, on a work surface and using a ruler or tape measure, marking a line using pins, 6” from the end of the small hem.
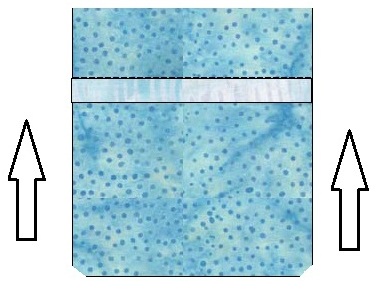
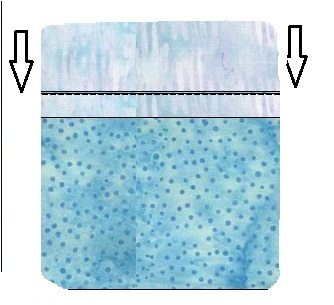
Step 5. Fold the end with the large hem up to this mark.
Step 6. Fold the end with the small hem over the top at the line of the marking pins.
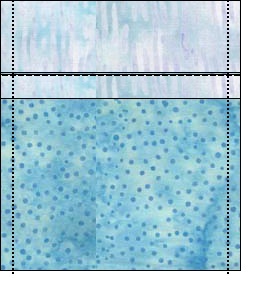
Step 7. Pin the side seams, from top to bottom about a half inch from the raw edges.
Step8. Stitch both side seams through all layers.
Step 9. Turn right side out and press.
Step 10. The quilt can be folded and slipped inside the bag, tucking the flap under the quilt to secure it in place.

Related Articles
Editor's Picks Articles
Top Ten Articles
Previous Features
Site Map
Content copyright © 2023 by Judie Bellingham. All rights reserved.
This content was written by Judie Bellingham. If you wish to use this content in any manner, you need written permission. Contact Judie Bellingham for details.


