Winding Hanks into Balls

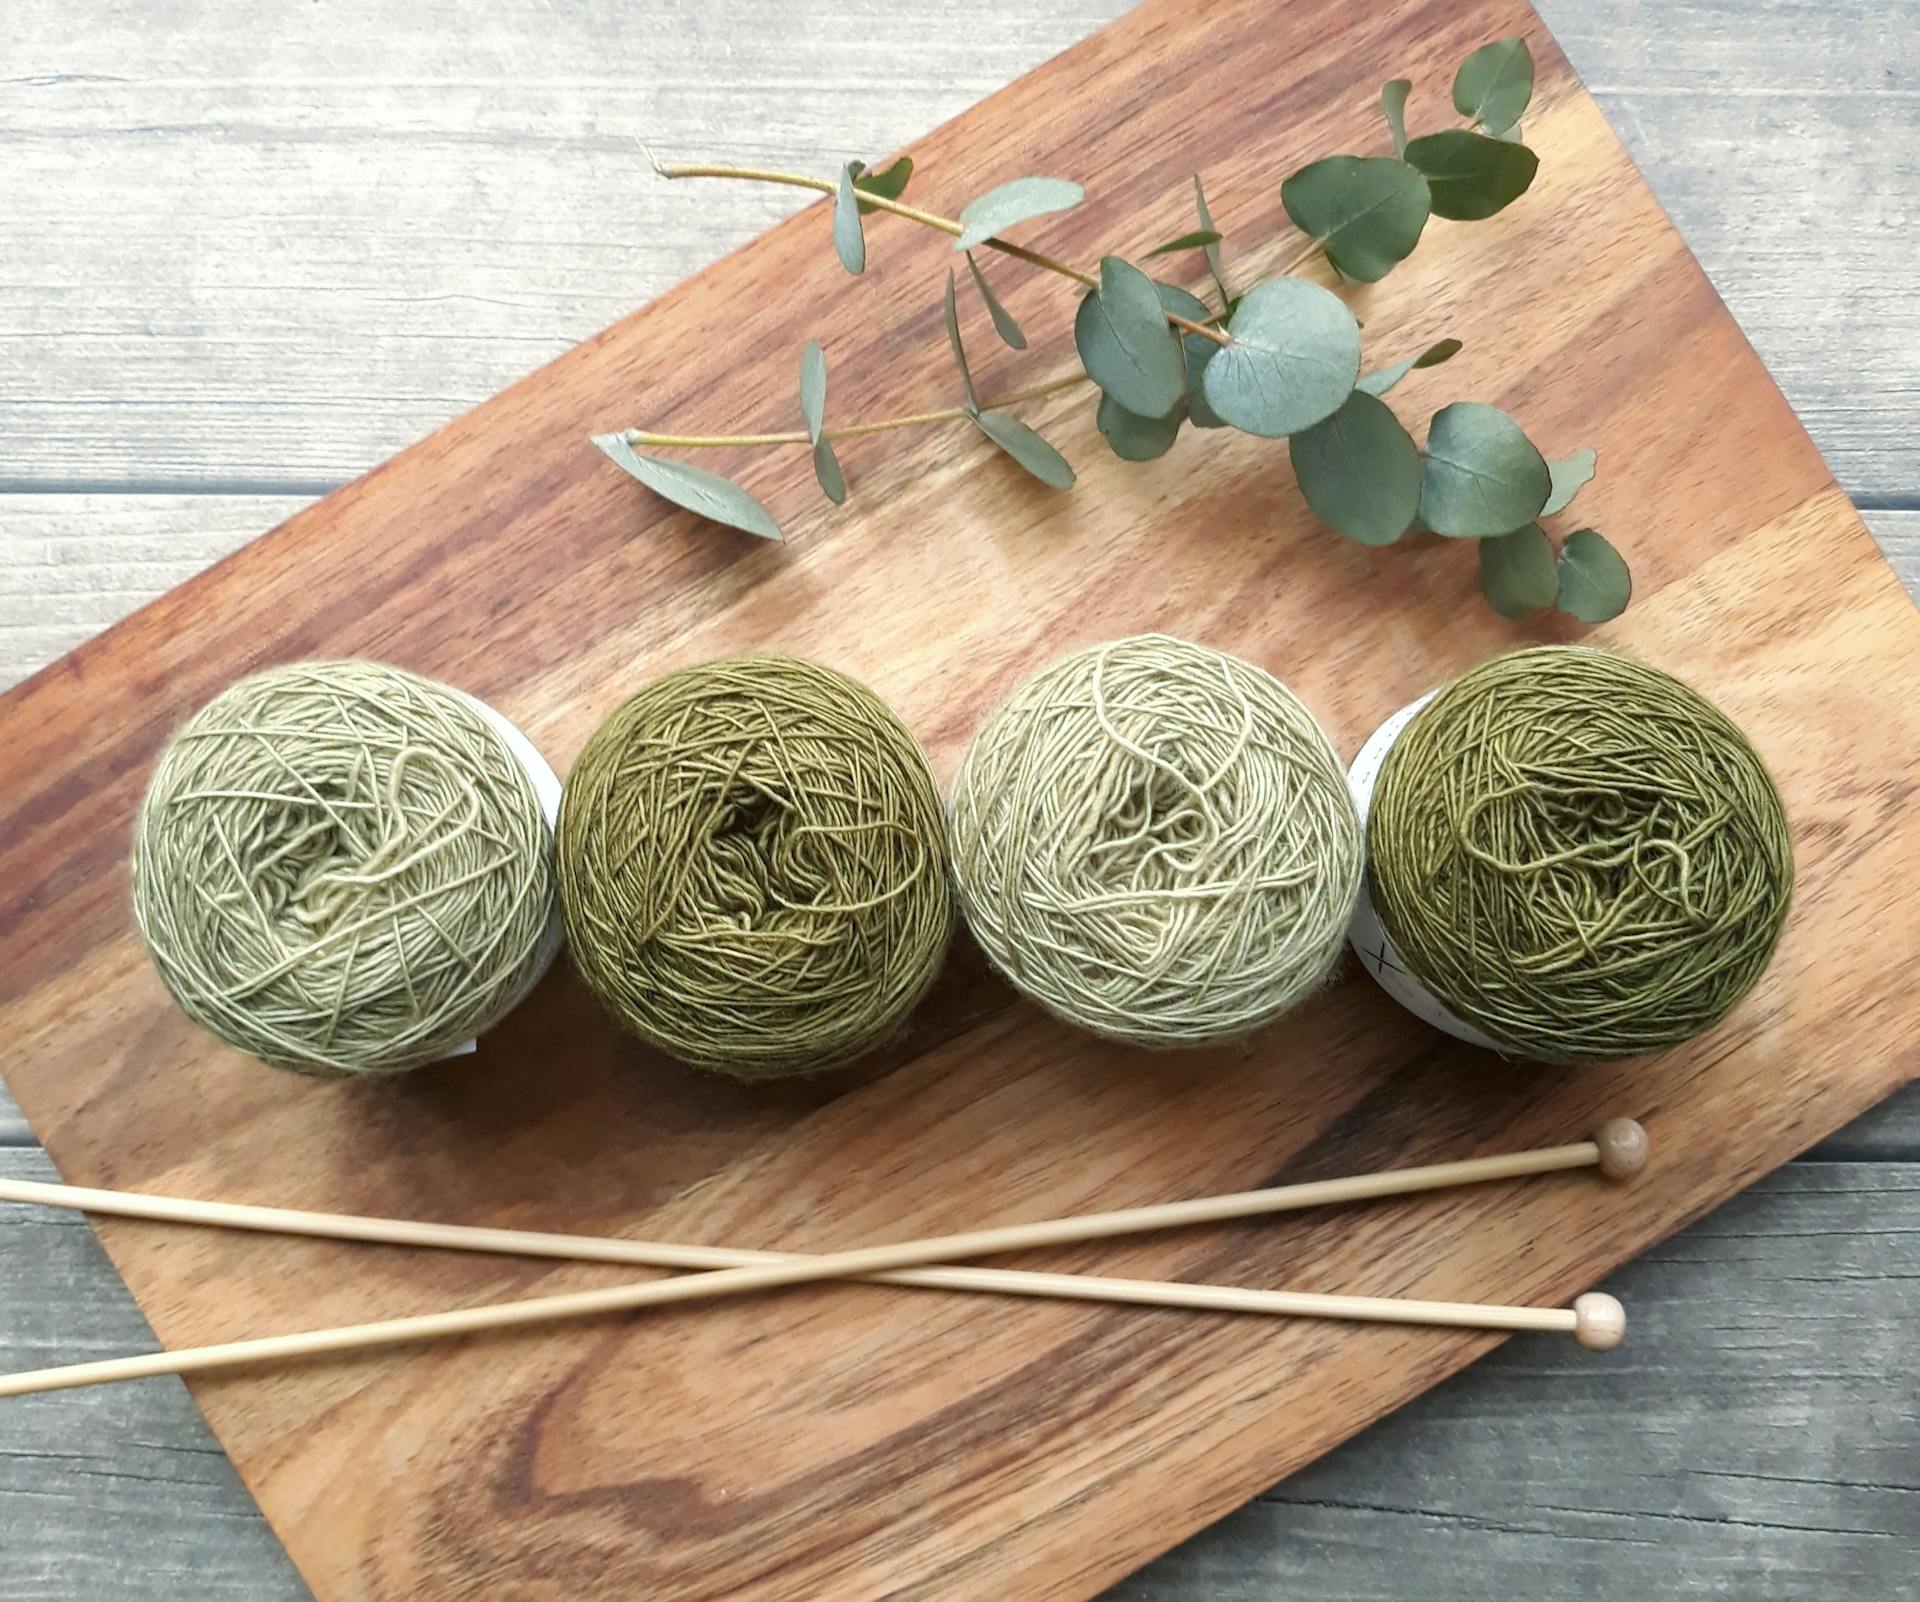
New knitters sometimes don’t realize that one should never knit from a hank of yarn without winding it first. (I know this from bitter personal experience.) If possible, have hank yarn wound at the store after purchasing it; most brick-and-mortar yarn store employees will do this for you for no charge. However, some stores will not let customers return or exchange hank yarn once it’s been wound, so it’s important to either be careful with the amount you purchase or leave that last skein unwound until you’re absolutely sure you’re going to use it. Also, purchased yarn over the Internet often is sold and shipped only in unwound hanks. For these reasons, it’s important to know how to wind hanks into balls oneself!
Many yarn stores sell items such as ball winders and yarn swifts that purport to make the process of winding yarn easier. A yarn swift looks something like a circular clothes line; the untwisted hank is draped around it and held taut during winding. The ball winder needs to be clamped to a table or some similar item; you will attach the yarn to one section and then turn a handle or crank to wind the yarn around a tube or stick. While satisfyingly “higher tech”, ball winders and swifts aren’t necessary and don’t really make the process that much faster. I usually use the back of a chair and my own arms.
Always unwrap a hank of yarn slowly, before you untie any of it. Hank yarn is usually twisted around itself; when you –gently – pull the twist apart, you will find that the yarn creates a thick circle of fiber. Drape that circle over either a yarn swift, your long-suffering significant other’s hands, or the back of a chair. Now it’s easier to look at the individual strands making up the hank. You will find that the hank is held together by ties in several different places, with the ends of the hank connected to one or more of these. Remove the ties, looking carefully to make sure that you’re cutting the ties and not the hank yarn itself. You will then have two ends left. Pick one and begin to wind it around your fingers; I like to make the shape of the number eight for the first few motions. After a few circuits, you will have a shape large enough that you can begin to wind the yarn in the shape of a ball.
As you are winding, you may find that the yarn is twisted in and out of several strands. This can easily be fixed if you are winding slowly; simply look carefully, part the yarn strands, and move the ball through them to de-tangle as you are winding. It helps to wind a bit more slowly, as it can be very easy to get into an unconscious rhythm, wind without looking, and then find that there is a bigger tangle that could have been avoided. If your arms get tired, put the ball down on the ground and rest for a few minutes rather than trying to finish up faster.
When all of the yarn is wound, you are ready to knit!

Related Articles
Editor's Picks Articles
Top Ten Articles
Previous Features
Site Map
Content copyright © 2023 by Korie Beth Brown, Ph.D.. All rights reserved.
This content was written by Korie Beth Brown, Ph.D.. If you wish to use this content in any manner, you need written permission. Contact Korie Beth Brown, Ph.D. for details.


